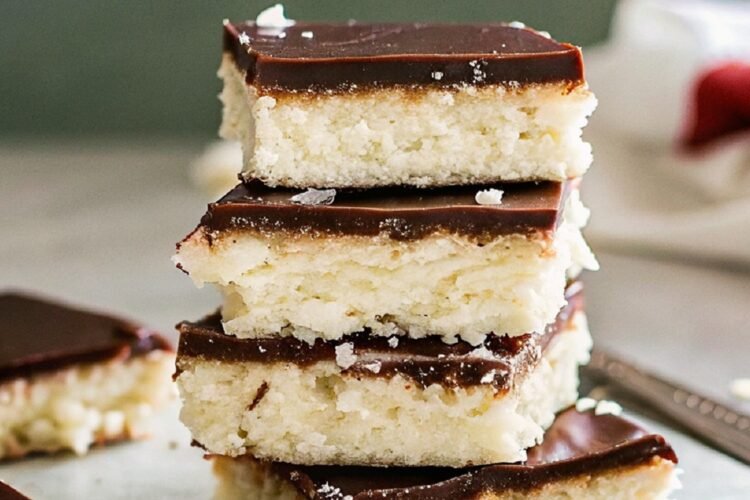
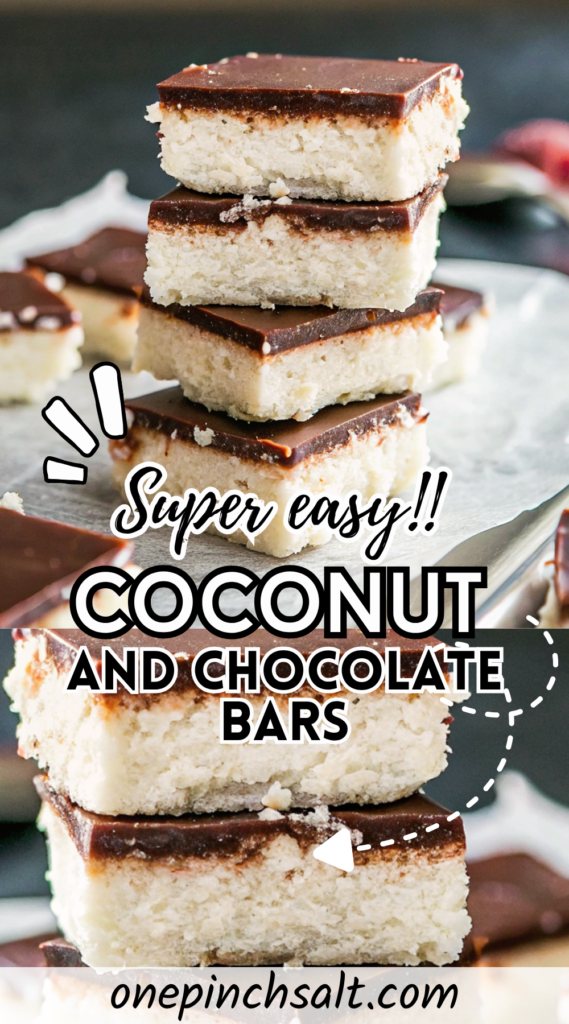
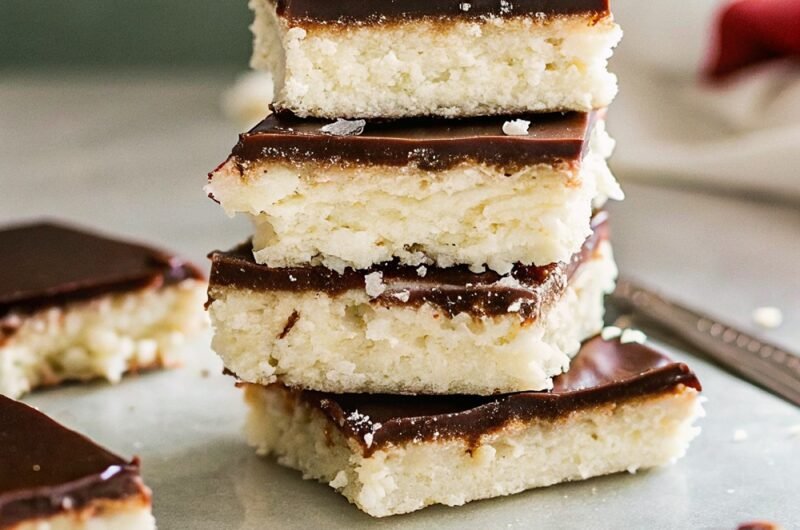
These are the best coconut and chocolate bars! They’re chewy and coconut-rich on the outside, but smooth and chocolatey on the inside, all thanks to a simple trick you already have in your pantry.
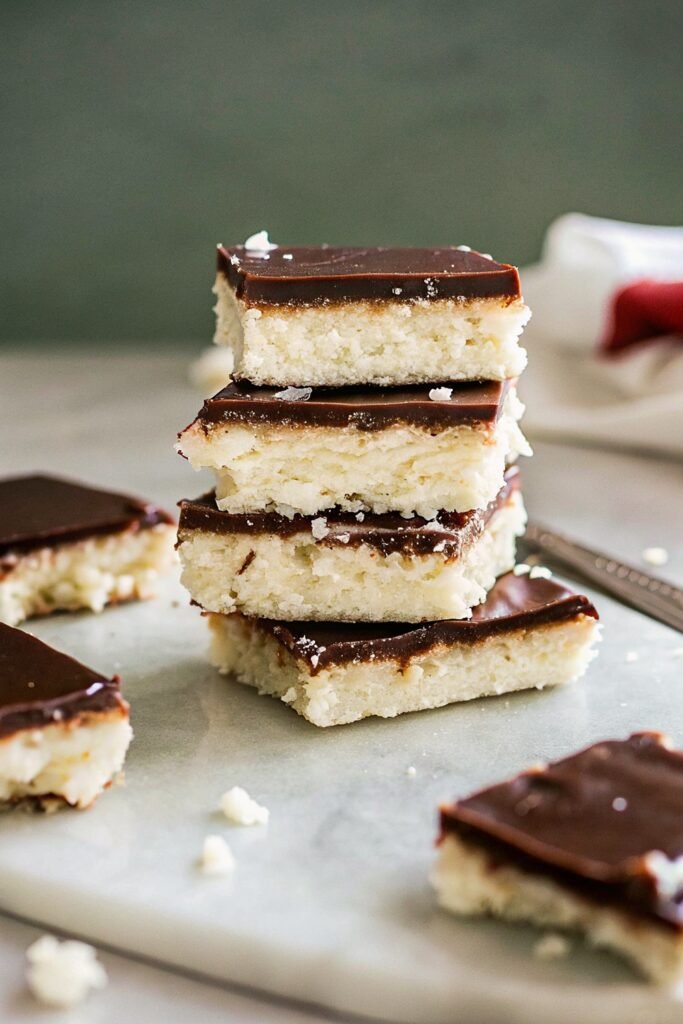
Are you on team coconut or team chocolate? I have real trouble picking sides, but if I absolutely had to, I’d probably pick both in one bite. They’re just a little extra special! And when they’re done right, with chewy coconut layers and smooth chocolate centers, there’s just nothing better for a quick sweet treat.
These coconut and chocolate bars have such incredible flavor all on their own thanks to the fresh coconut and rich melted chocolate in the layers, but I still recommend topping them high with aaalll the extras. My favorite way to serve these bars is with a sprinkle of sea salt or a dollop of whipped cream.
Ingredients in Coconut and Chocolate Bars
This ingredient setup stays simple but still delivers a rich and balanced dessert.
How to make Coconut and Chocolate Bars
This recipe flows easily and comes together with just a few steps.
1. Prepare the base
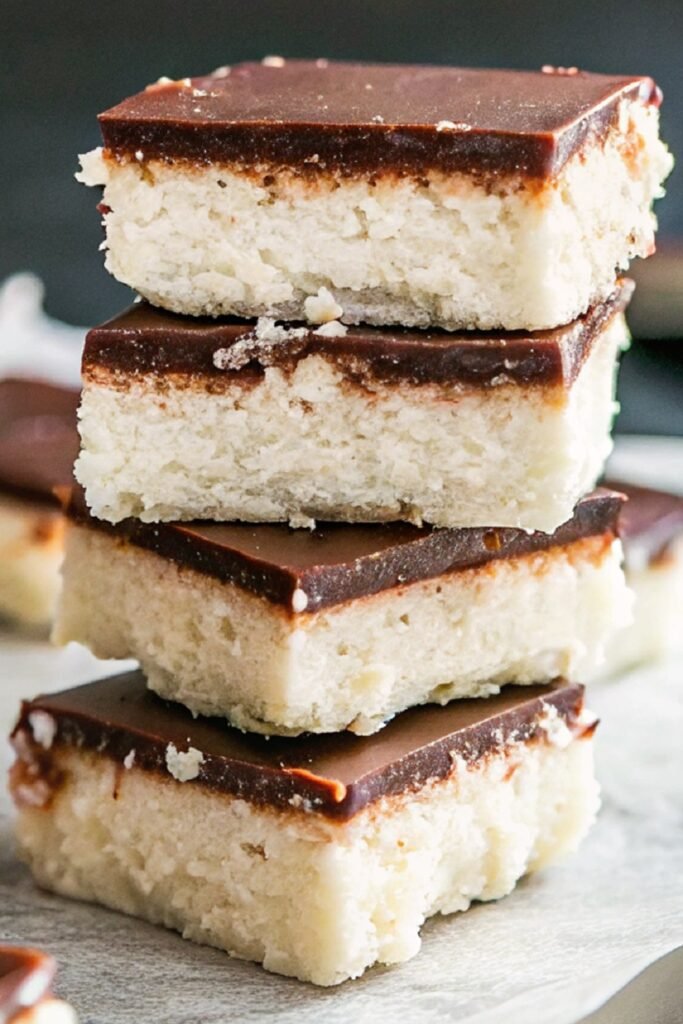
Start by mixing shredded coconut, condensed milk, melted butter, vanilla extract, and a pinch of salt in a bowl. Stir until everything sticks together and forms a thick mixture. Press it firmly into a lined baking dish so the surface looks even and compact. This step sets the structure of the bars.
2. Chill the coconut layer
Place the pressed coconut mixture in the fridge for about 20 to 30 minutes. Letting it chill helps the base firm up so it holds shape once the chocolate goes on top. A slightly cold base also helps the chocolate set better later.
3. Melt the chocolate
While the base chills, melt the chocolate using a microwave or double boiler. Stir it slowly until smooth and glossy. Avoid overheating so the texture stays silky and easy to spread.
4. Add the chocolate layer
Take the chilled coconut base out and pour the melted chocolate over it. Spread it evenly with a spatula so every corner gets covered. A smooth top makes the bars look neat once cut.
5. Set the bars
Place the tray back in the fridge and let it sit until the chocolate fully hardens. This usually takes around 1 hour. The layers should feel firm to the touch before slicing.
6. Slice into pieces
Lift the set block out using the lining and cut into squares or rectangles. Use a sharp knife for clean edges and wipe between cuts if needed.
7. Store properly
Keep the bars in an airtight container in the fridge. This keeps the texture firm and the chocolate layer intact.
How to serve Coconut and Chocolate Bars
These bars taste best slightly chilled, straight from the fridge. The coconut stays soft while the chocolate gives a gentle snap, which makes each bite more satisfying.
For a small dessert plate, serve them with fresh berries or a light dusting of cocoa powder. That contrast cuts through the sweetness nicely and adds a bit of freshness.
They also work well as a quick sweet snack with tea or coffee. Since they hold their shape well, you can pack them for gatherings or keep them ready for guests without worrying about mess.
Recipe Tips
- Keep the coconut layer tightly packed so the bars do not crumble when slicing.
- Use good quality chocolate since it forms the top layer and affects the overall taste.
- Chill between steps to help each layer set properly and stay defined.
- Cut with a warm knife for cleaner edges and smoother slices.
- Store in the fridge to maintain texture, especially in warmer weather.
- Adjust sweetness by choosing dark or semi sweet chocolate based on preference.
Coconut and Chocolate Bars
Course: DessertCuisine: AmericanDifficulty: Easy12
15
minutes1
30
minutesIngredients
2 cups shredded coconut
1 cup condensed milk
2 tablespoons melted butter
1 teaspoon vanilla extract
Pinch of salt
1 ½ cups semi sweet chocolate
Directions
- Prepare the base:
Start by mixing shredded coconut, condensed milk, melted butter, vanilla extract, and a pinch of salt in a bowl. Stir until everything sticks together and forms a thick mixture. Press it firmly into a lined baking dish so the surface looks even and compact. This step sets the structure of the bars. - Chill the coconut layer:
Place the pressed coconut mixture in the fridge for about 20 to 30 minutes. Letting it chill helps the base firm up so it holds shape once the chocolate goes on top. A slightly cold base also helps the chocolate set better later. - Melt the chocolate:
While the base chills, melt the chocolate using a microwave or double boiler. Stir it slowly until smooth and glossy. Avoid overheating so the texture stays silky and easy to spread. - Add the chocolate layer:
Take the chilled coconut base out and pour the melted chocolate over it. Spread it evenly with a spatula so every corner gets covered. A smooth top makes the bars look neat once cut. - Set the bars:
Place the tray back in the fridge and let it sit until the chocolate fully hardens. This usually takes around 1 hour. The layers should feel firm to the touch before slicing. - Slice into pieces:
Lift the set block out using the lining and cut into squares or rectangles. Use a sharp knife for clean edges and wipe between cuts if needed. - Store properly:
Keep the bars in an airtight container in the fridge. This keeps the texture firm and the chocolate layer intact.