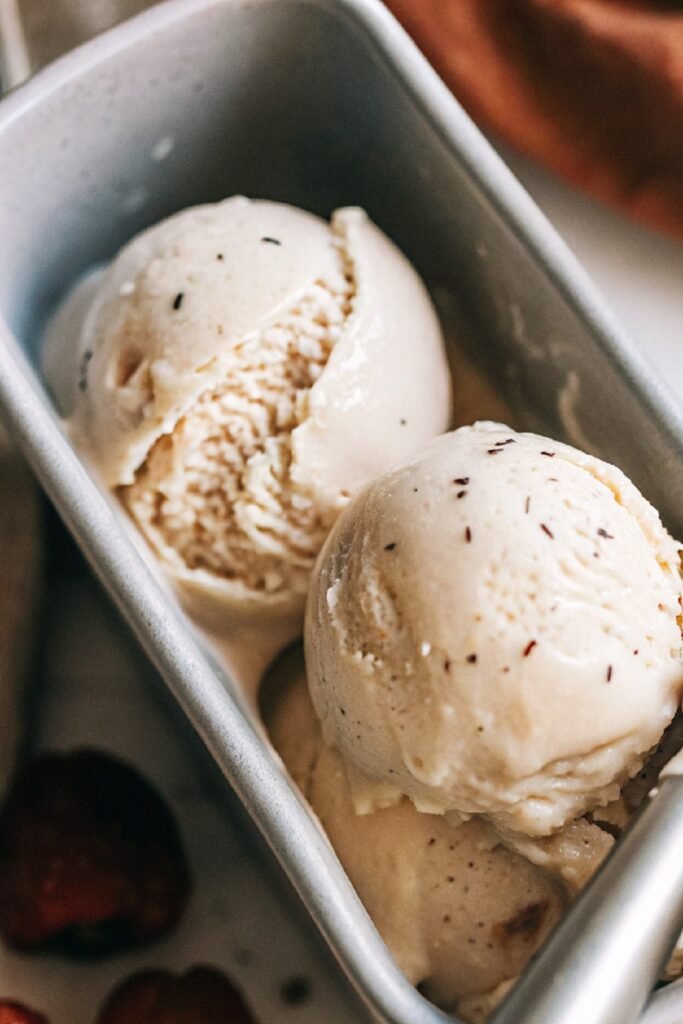
This easy and delicious dairy-free vanilla bean ice cream requires just a few basic ingredients and lets you enjoy classic ice cream vibes without any dairy!
We call this our “Guilt-Free Summer Treat” at our house, as it’s a cool and comforting pick for hot afternoons or late-night cravings during the warmer months. But really, it’s great all year round!
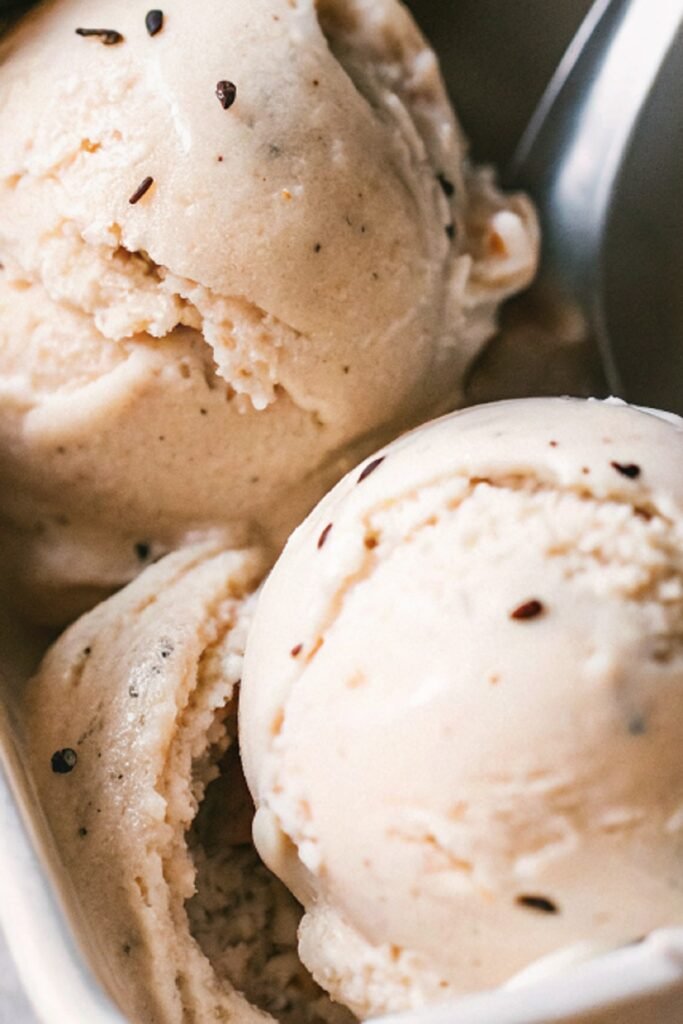
With this one dessert you have the smooth creamy texture of traditional ice cream, and the deep, rich flavor of real vanilla beans that makes it stand out from store-bought dairy-free options.
Ingredients in Dairy Free Vanilla Bean Ice Cream
This ingredient setup stays simple but still builds a creamy texture and strong flavor.
How to make Dairy Free Vanilla Bean Ice Cream
This recipe comes together step by step and rewards a bit of patience during chilling and freezing.
1. Prepare the vanilla bean
Slice the vanilla bean lengthwise and scrape out the seeds. Add both seeds and pod to the mixture later so all the flavor gets infused properly. This step sets the base for a strong vanilla taste.
2. Heat the base
In a saucepan, combine coconut milk, almond milk, and maple syrup. Warm it over medium heat while stirring gently so everything blends smoothly without burning.
3. Add vanilla and salt
Drop in the vanilla seeds, pod, and a pinch of salt. Let the mixture heat slowly so the vanilla flavor spreads evenly throughout the liquid.
4. Thicken the mixture
Mix cornstarch with a little cold almond milk in a separate bowl until smooth. Pour it into the warm mixture and stir continuously until it thickens slightly. This step helps create a creamy texture later.
5. Cool the mixture
Remove from heat and let it cool down completely. Take out the vanilla pod once the flavor has infused well. Cooling helps the mixture set properly before freezing.
6. Chill before freezing
Place the mixture in the fridge for a few hours until very cold. This step improves texture and makes the churning process smoother.
7. Churn the ice cream
Pour the chilled base into an ice cream maker and churn until it reaches a soft serve consistency. The mixture should look creamy and hold shape.
8. Freeze to firm up
Transfer to a container and freeze for a few hours until firm. Let it sit at room temperature for a few minutes before scooping for the best texture.
How to serve Dairy Free Vanilla Bean Ice Cream
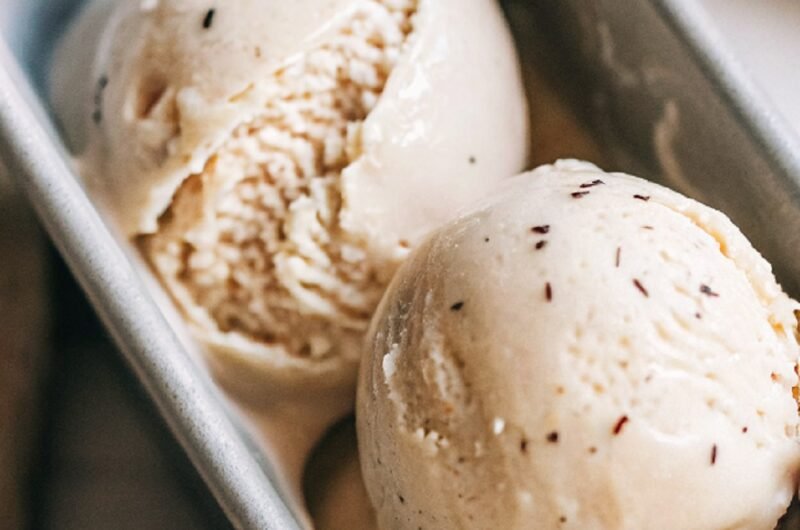
A simple way to enjoy this ice cream is straight from the freezer once it softens slightly. The creamy texture and vanilla flavor stand strong on their own without needing anything extra.
For a more fun serving idea, pair it with fresh fruits like berries or sliced mango. The cold ice cream and fresh fruit create a nice contrast that feels refreshing and balanced.
This ice cream also works well with warm desserts. Add a scoop on top of brownies or baked treats and let it melt slightly for a rich combination.
Recipe Tips
- This keeps the texture creamy and prevents the ice cream from turning icy after freezing.
- A cold base churns better and creates a smoother final texture.
- It helps thicken the mixture and improves scoopability once frozen.
- Getting all the seeds out ensures strong flavor and those classic specks in the ice cream.
- A few minutes at room temperature makes scooping easier and improves texture.
- This keeps the ice cream fresh and prevents ice crystals from forming.
Dairy Free Vanilla Bean Ice Cream
Course: DessertCuisine: AmericanDifficulty: Easy4
servings20
10
minutes300
Ingredients
1 can full fat coconut milk
1 cup almond milk
½ cup maple syrup
1 vanilla bean
1 teaspoon vanilla extract
1 tablespoon cornstarch
Pinch of salt
Directions
- Prepare the vanilla bean:
Slice the vanilla bean lengthwise and scrape out the seeds. Add both seeds and pod to the mixture later so all the flavor gets infused properly. This step sets the base for a strong vanilla taste. - Heat the base:
In a saucepan, combine coconut milk, almond milk, and maple syrup. Warm it over medium heat while stirring gently so everything blends smoothly without burning. - Add vanilla and salt:
Drop in the vanilla seeds, pod, and a pinch of salt. Let the mixture heat slowly so the vanilla flavor spreads evenly throughout the liquid. - Thicken the mixture:
Mix cornstarch with a little cold almond milk in a separate bowl until smooth. Pour it into the warm mixture and stir continuously until it thickens slightly. This step helps create a creamy texture later. - Cool the mixture:
Remove from heat and let it cool down completely. Take out the vanilla pod once the flavor has infused well. Cooling helps the mixture set properly before freezing. - Chill before freezing:
Place the mixture in the fridge for a few hours until very cold. This step improves texture and makes the churning process smoother. - Churn the ice cream:
Pour the chilled base into an ice cream maker and churn until it reaches a soft serve consistency. The mixture should look creamy and hold shape. - Freeze to firm up:
Transfer to a container and freeze for a few hours until firm. Let it sit at room temperature for a few minutes before scooping for the best texture.